Grep
About
Grep is a CTF hosted on TryHackMe here. It is a CTF that has some OSINT elements and also some php exploitations.
Walkthrough
I usually like to start by doing an export IP=... so that I don’t have to
remember the IP of the target all the time.
Next I have started the usual nmap scan with
nmap -sC -sV $IP
With this I found ports 22, 80 and 443 open. Then I left the nmap scan in the
background with -p- flag and also found port 51337 open.
Trying to access the ip address directly did not as expected. On port 80 there was just a plain apache server running. And on port 443 it was giving an Forbidden error (403).
Next I have added the grep.thm host to the /etc/hosts file, and this time I
was able to access the main page of the website. The issue now is that it is
not possible to create an account. We have a missmatch in the API keys being
used.
Now I tried to make use of the hint that the challenge is about OSINT (And
there is an icon of github in the profile image). So I have searched some
things from the web page on github (More specifically the text Welcome to
SearchME!) and found one repository which seems to match
https://github.com/supersecuredeveloper/searchmecms. However, the API key
looks like it is missing. But after looking at the commit history we can find
that it was, at some point, leaked
https://github.com/supersecuredeveloper/searchmecms/commit/db11421db2324ed0991c36493a725bf7db9bdcf6.
With the API key at hand we can go to the register page, open the php source file, and edit the api key to the correct value. (Don’t forget to save) And now we are able to create a new account.
On the dashboard page we can find the first flag.
In the repo we have also found a file called upload.php
https://grep.thm/public/html/upload.php, which means we might be able to make
use of some php vulnerability. After checking the source code, we can see that
the application checks the magic bytes to determine if the file is an image or
not. To bypass this check we can use a script like the one from
https://github.com/S12cybersecurity/bypass_magic_bytes, which adds php code
into an image. The important part is just the PNG from the beginning, so this
can be also done manually.
After generating and uploading the payload to the website we can access the
uploaded file and pass an argument to it
https://grep.thm/api/uploads/mime_shell.php?cmd=id. This should display the
results of the id command.
Next we can try a reverse shell from https://www.revshells.com/. I used PHP
exec with URL encoding and passed the string to the cmd argument. Also you
need a nc listener open on the host.
Inside of /var/www are some useful files:
- The backup folder with the users.sql file which contains the admin email (and the password hash)
- certificates for the leak service (which is running from the leakchecker folder)
In the backup folder we can find the answer to the email admin question.
The useful certificate file is leak_certificate.crt, which we can search for
information using openssl x509 -in leak_certificate.crt -text -noout. This
gives us the host path of the leak service.
Now we will need to add the new host to the /etc/hosts file with the same IP
address as grep.thm. After that we will be able to access the service (which
is running on port 51337 and uses https). If we try to use the admin email
address we are given the password of the admin, which is the last answer for
this room.
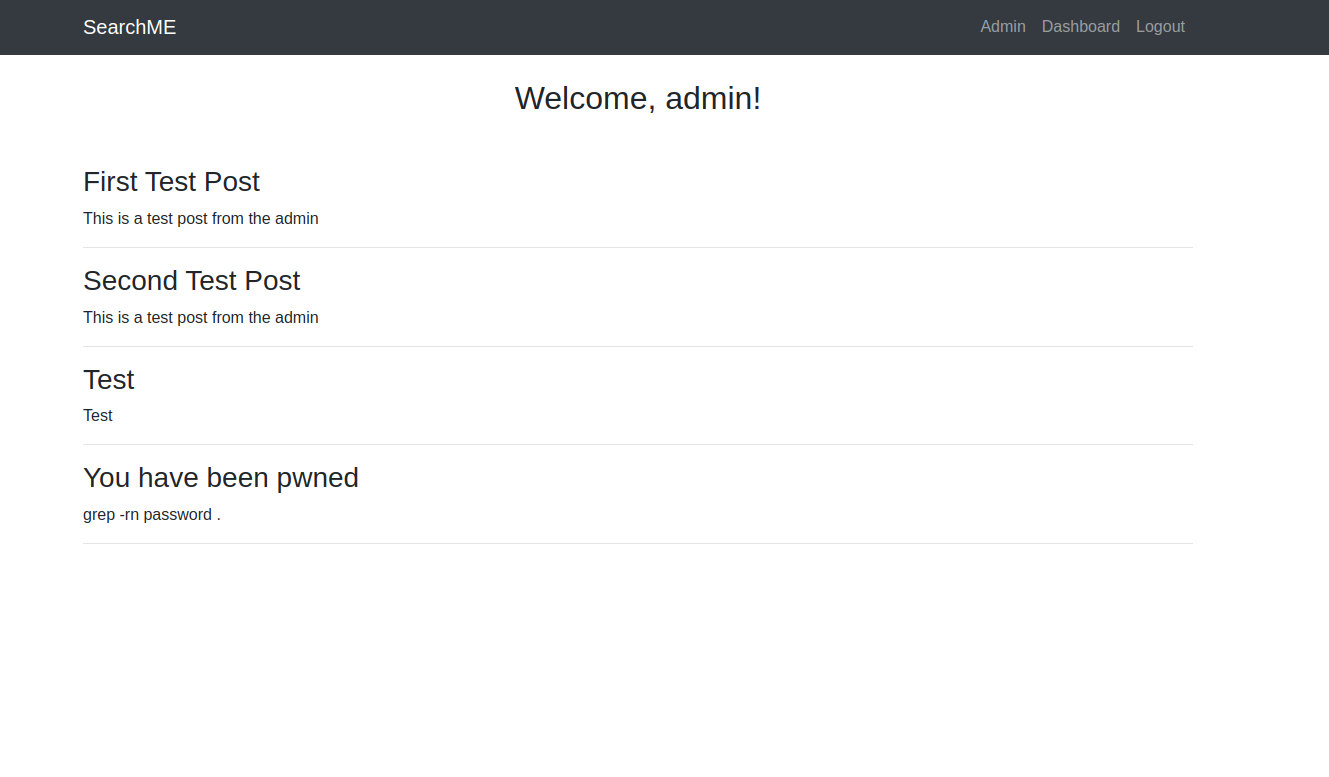
Finally we are free to login as the admin user with the admin username and
the password that we got from the leak service.

Conclusion
Straightforward challenge where the questions helped to guide the solution in the right direction.