CLI Chat with Python
About
In this project we will create a very simple CLI application that we can use to have a conversation with ChatGPT. We will be using Python as the programming language. We will use the openai library.
NOTE: This project will require you to have a paid openai account. This means that you will an API KEY that you can find on your openai account. Then you will have to run the command
export OPENAI_API_KEY=sk-...
Walkthrough
Setup
I usually like to setup my Python projects by using venv, a tool that allows you to create lightweight virtual environments.
First, create a folder for the project
mkdir chatgpt-cli
Then enter the directory and create a virtual environment
cd chatgpt-cli
python -m venv .venv
Next you will have to activate the environment, depending on your shell you will have to use one of the following commands:
bash->source .venv/bin/activatezsh->source .venv/bin/activatefish->source .venv/bin/activate.fish
Now that we have a virtual environment we can install the openai package by using
pip install openai
First CLI
With all the dependencies installed we can start working on our CLI
application. First create a main.py file and then open it in your code
editor.
touch main.py
Next step is to import the dependencies using
import openai
Next let’s setup a system prompt that we can use with ChatGPT.
SYSTEM = "You are a helpful AI assistant that can answer questions provided by the user"
The next step is to take some input from the user with input
prompt = input()
Finally we can create the completion object and get the result back
chat_completion = openai.ChatCompletion.create(
    model="gpt-3.5-turbo",
    messages=[
        {"role": "system", "content": SYSTEM},
        {"role": "user", "content": prompt}
    ]
)
this will create a completion that will store as history the system prompt that we have created and the message from the user. And then it will send it to the API. We get back a JSON response in the form of a dictionary that we can display
print(chat_completion.choices[0].message.content)
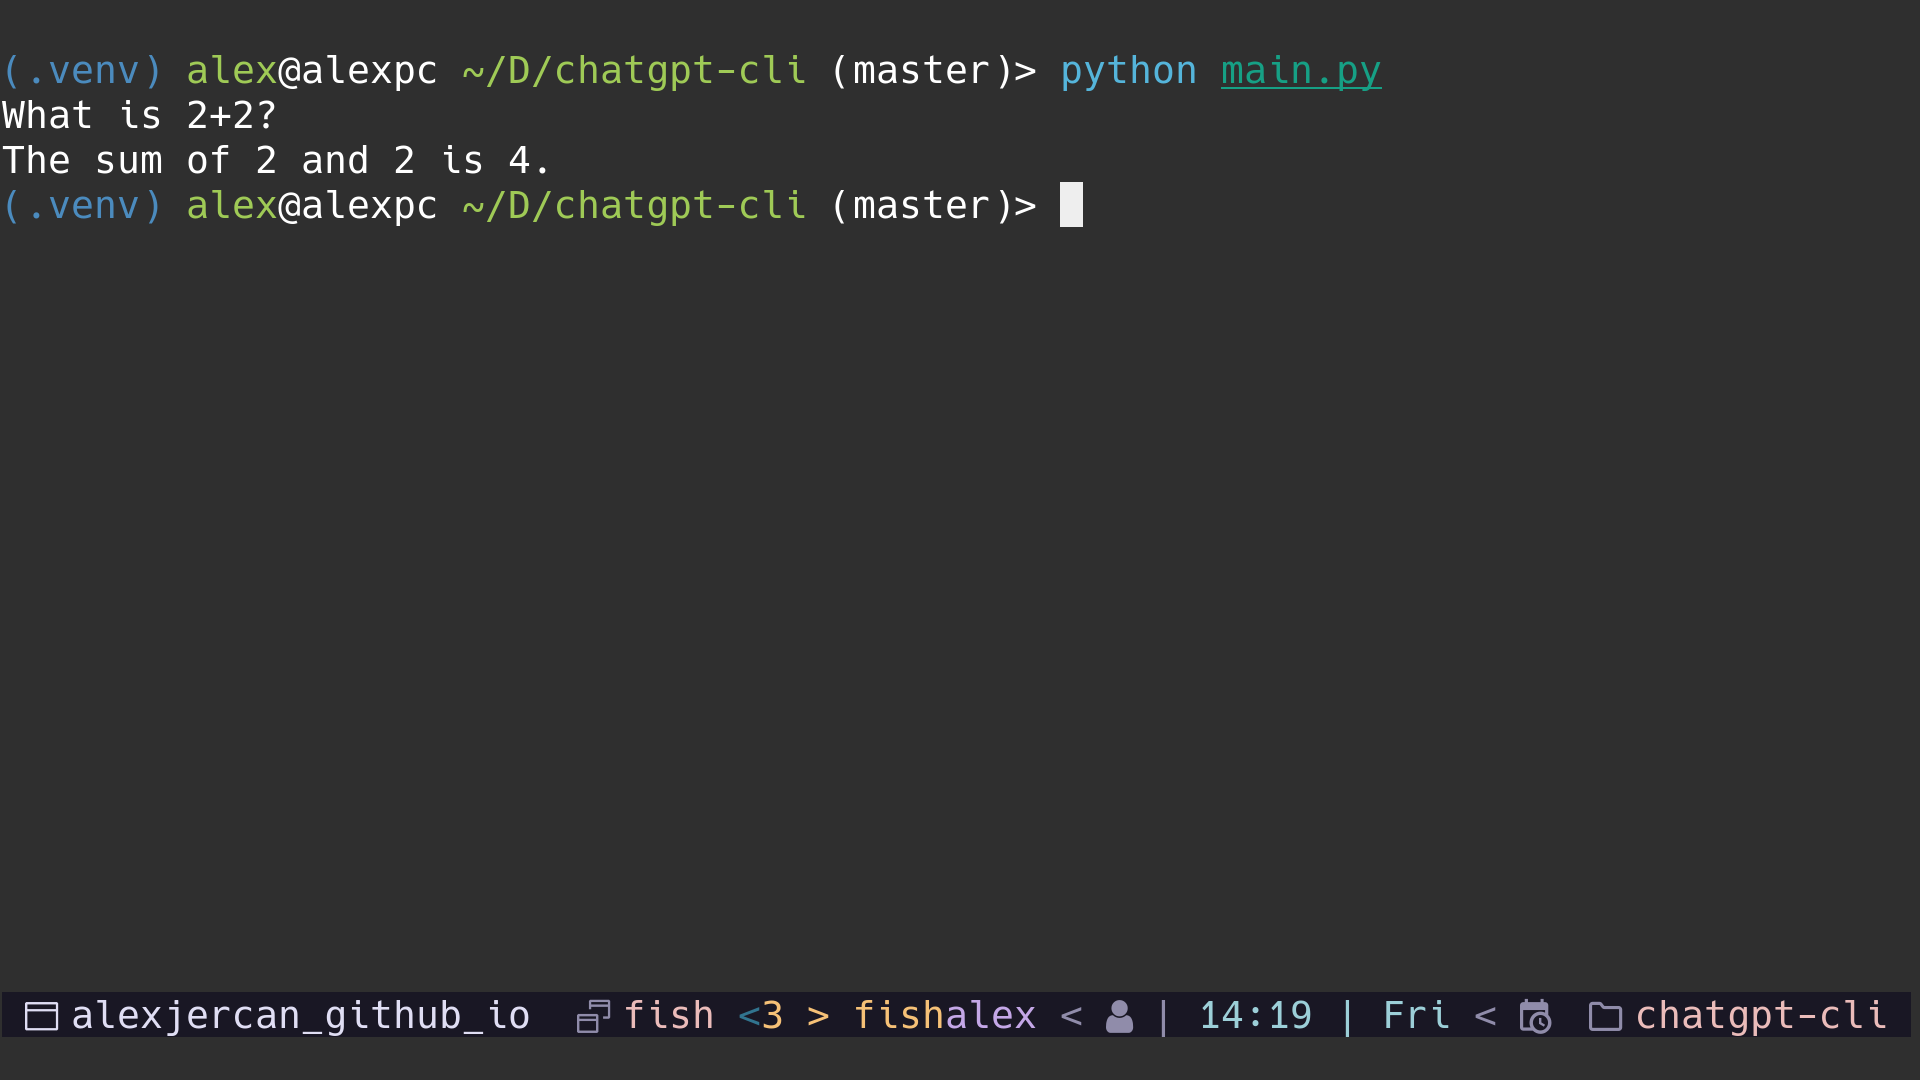
And next we can use the script from terminal with python main.py to see the
results. You have to enter a prompt and then press enter, after a bit of time
you will see the response.
Improve CLI
We can make the initial prompt fancier by using something like
input("User: ")
and for the print statement we can use
print(f"GPT: {chat_completion.choices[0].message.content)}")
However we can only pass a single message into the application. Well, we can use a list to keep the history of the conversation between us and the chatbot.
First we can add a list with the initial prompt after we create the SYSTEM
variable
HISTORY = [{"role": "system", "content": SYSTEM}]
The next step requires to modify the script such that we have an infinite loop waiting for user input, adds the user input in the history and then adds the ChatGPT response in the history (an important step that sometimes you can forget about).
while True:
    prompt = input("User: ")

    HISTORY.append({"role": "user", "content": prompt})

    chat_completion = openai.ChatCompletion.create(
        model="gpt-3.5-turbo",
        messages=HISTORY,
    )

    response = chat_completion.choices[0].message.content

    HISTORY.append({"role": "assistant", "content": response})

    print(f"GPT: {response}")
The other change than before is that instead of the hardcoded list we also pass
as messages the HISTORY list that we created. This way we can keep track of
all the previous messages.
we can also add a keyword that stops the application, for example exit.
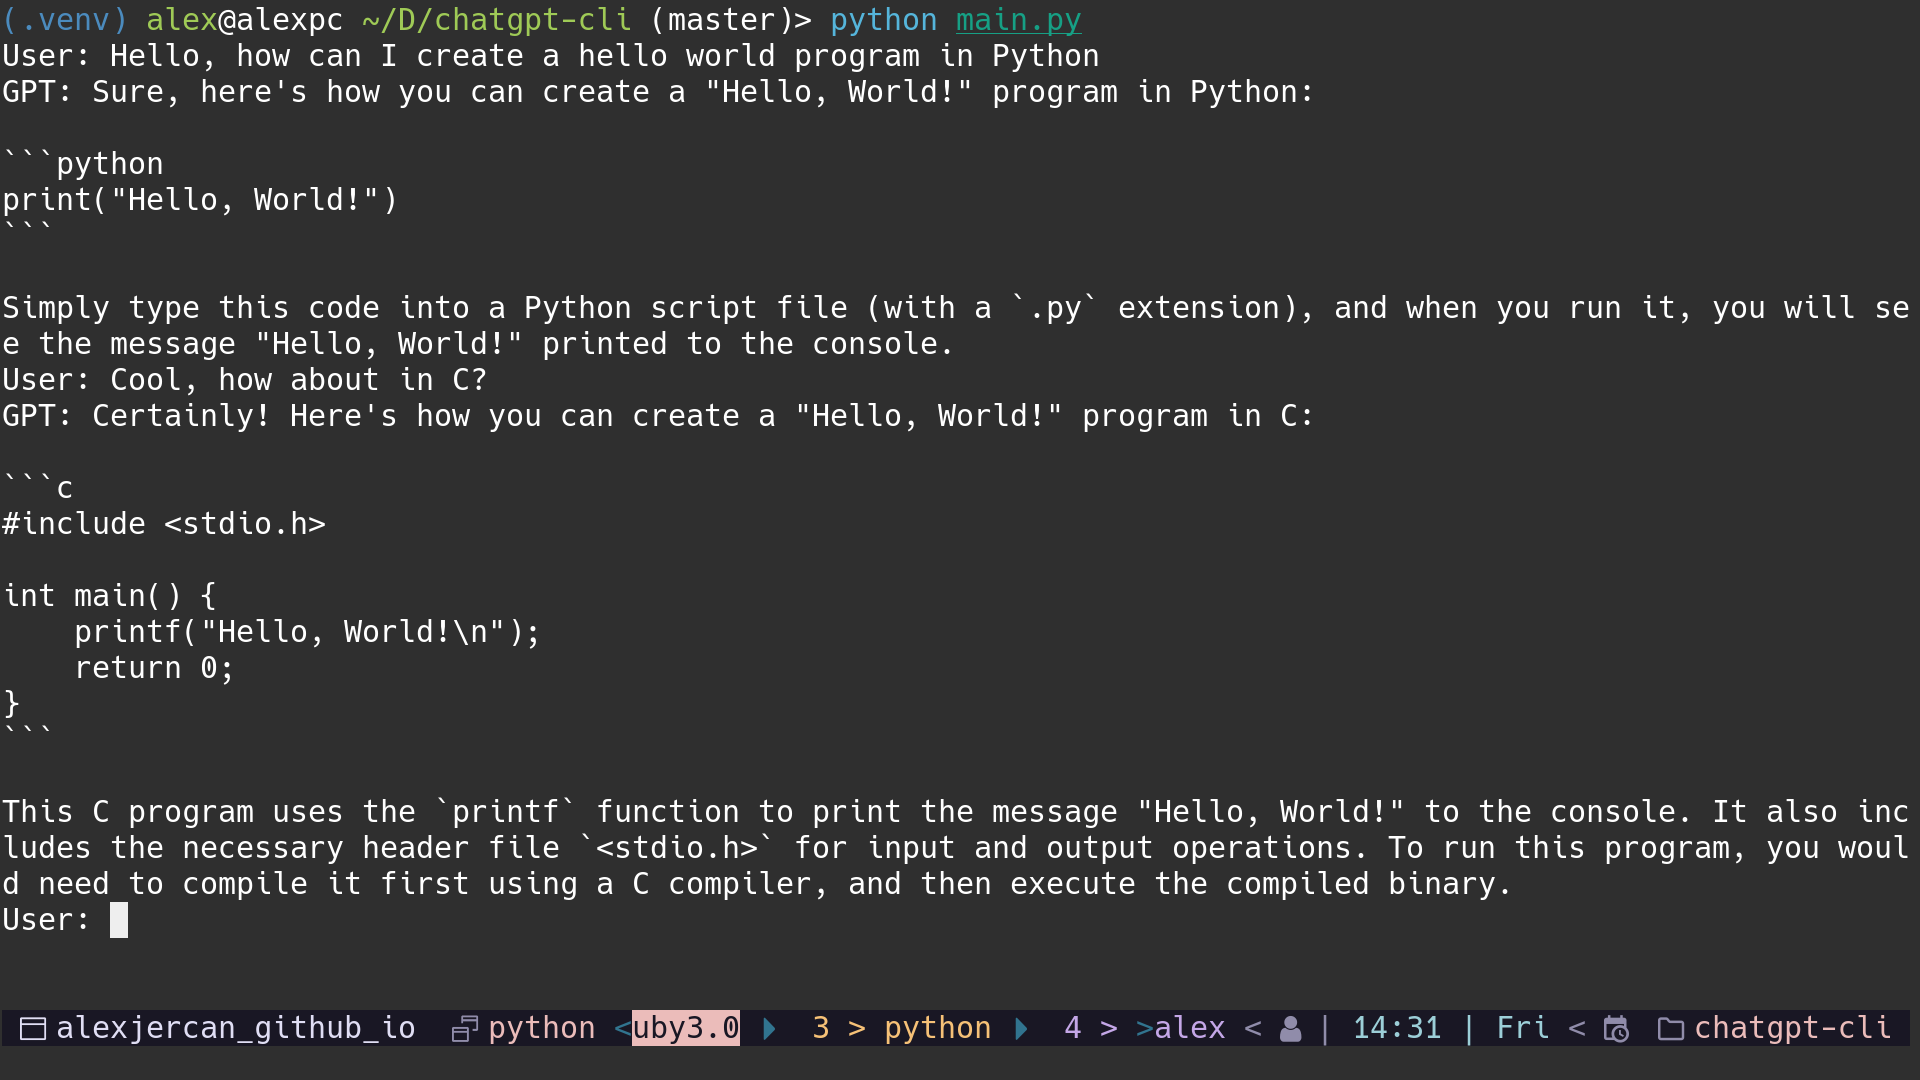
Finally we should have the following script, which does the conversation and
quits the application when we type exit.
import openai

SYSTEM = "You are a helpful AI assistant that can answer questions provided by the user"
HISTORY = [{"role": "system", "content": SYSTEM}]

while True:
    prompt = input("User: ")

    if prompt == "exit":
        break

    HISTORY.append({"role": "user", "content": prompt})

    chat_completion = openai.ChatCompletion.create(
        model="gpt-3.5-turbo",
        messages=HISTORY,
    )

    response = chat_completion.choices[0].message.content

    HISTORY.append({"role": "assistant", "content": response})

    print(f"GPT: {response}")
Conclusion
This project teaches how to use the openai library in it’s basic form, and
how to think of a chatbot API endpoint. By saving the history of the messages
and keeping track of the responses.