My Developer Experience
About
Here you will learn how to configure neovim, a powerful and extensible text editor. We will explore various plugins, keybindings, and configurations that will smoothen your developer experience. Then we will look into how I set up my Tmux to achieve maximum efficiency.
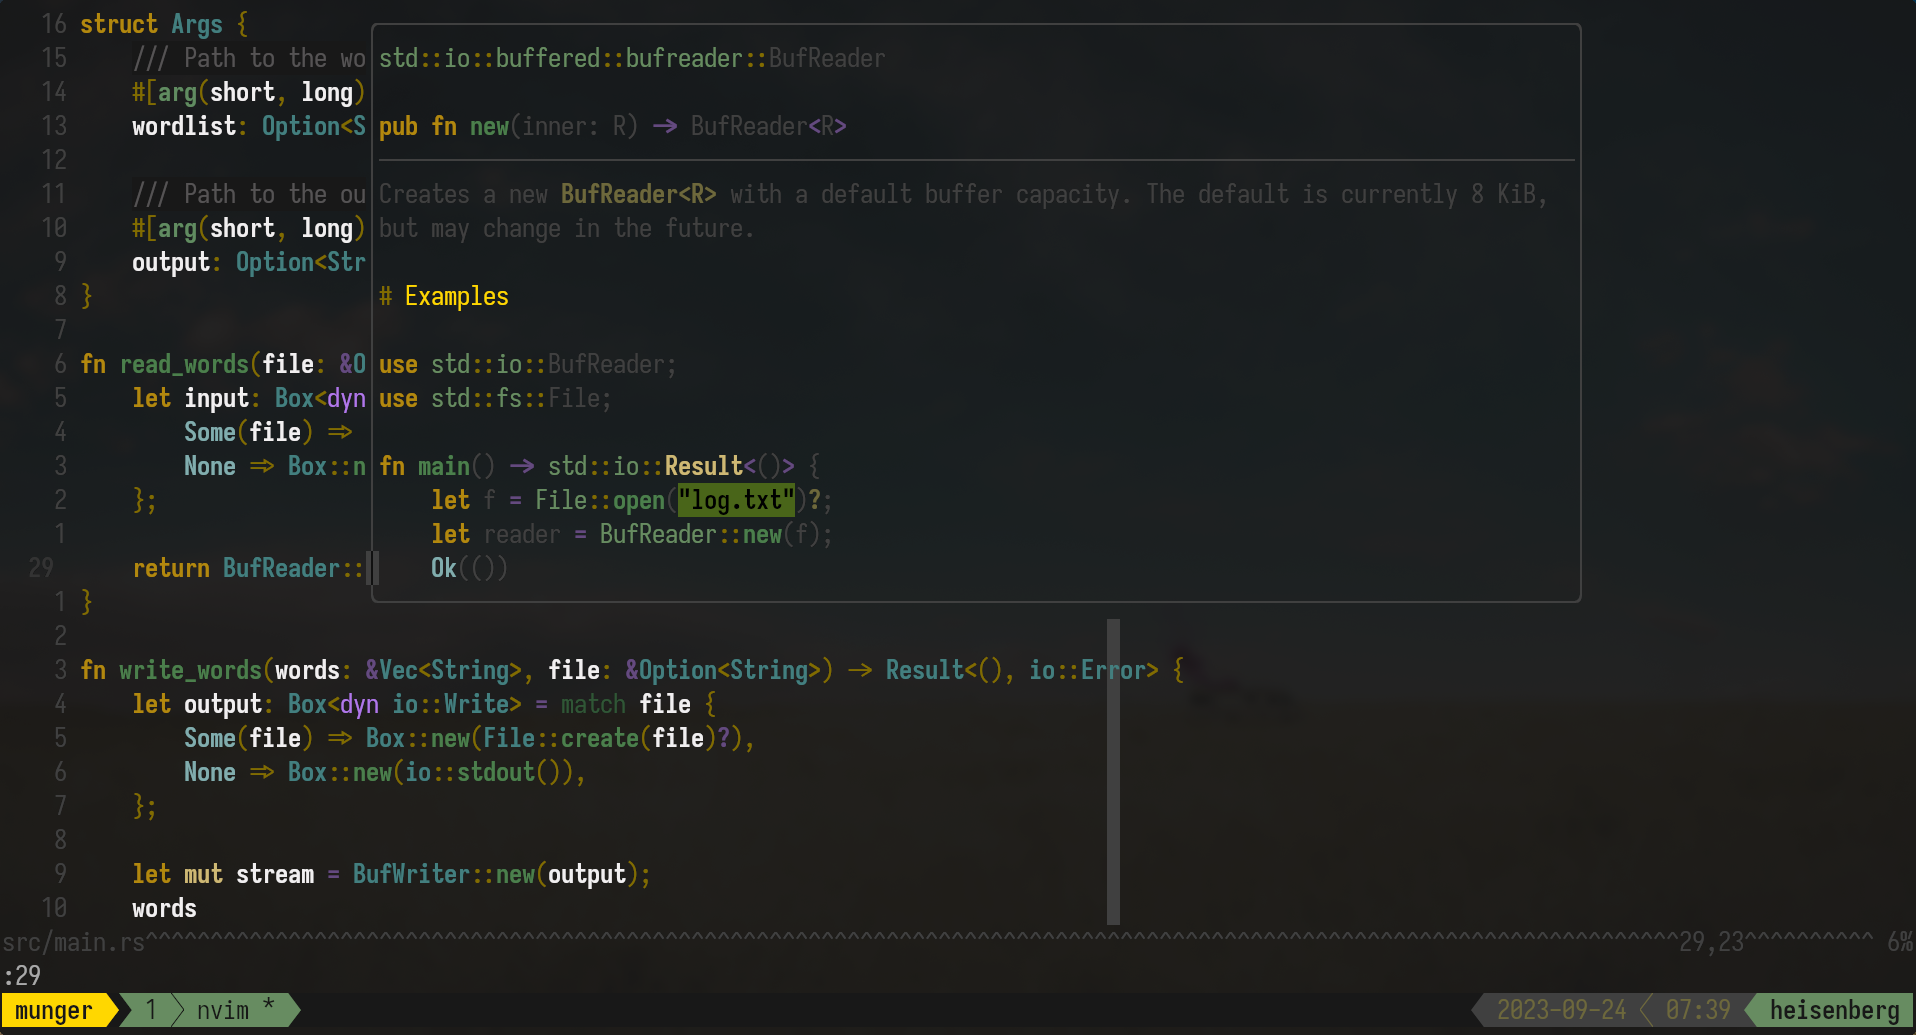
In my opinion, you do not notice that much of a difference from just a screenshot. Maybe you will see that there is a cool status bar, for which I use a custom plugin instead of the default one. However the power of tmux comes when you need to switch between multiple terminals, even multiple sessions.
Quickstart
The project is built such that it makes installing the dotfiles and the dependencies effortlessly.
First clone the repository containing the configuration files.
git clone git@github.com:alexjercan/nvim.dotfiles.git
Then run the install script. The install script will take care of all the
dependencies and it will allow you to customize your dev experience during the
process.
cd nvim.dotfiles
./install
NOTE: Running the
installscript will delete your old dotfiles for the applications included in this repo. Make a backup if you don’t want to lose them and always check theshscripts before running them.
NOTE: The
installscript is still WIP and is not finished yet. Report any bugs you encounter to the issues page.
Install steps
First, the install script will run some cheks to verify that neovim is installed and it is a newer version (minimum is 0.9.0). Then based on your distro it will install the dependencies.
For the neovim setup, it will create a backup for your old config and then
start the process of creating the new config. First it installs the default
plugins. Then it will prompt the user to opt for the install of each optional
plugin. That is all for neovim, next you will be able to just open up nvim
and Lazy will just install the plugins. You will then be able to modify the
plugins folder to customize the plugins based on your current setup.
NOTE: If you want to make persistent changes you also need to change
plugins.default. Howeverpluginsis what neovim will actually use as configuration. Theplugins.defaultfolder is used as a template.
The tmux setup will just link the new .tmux.conf instead of the old one and
then install the plugins.
Dev Scripts. For this step the installer will go trough each script and prompt the user for the install.
- tmux-sessionizer if you want to install this script you will be prompted the
paths that you want to search for projects in. For example I use
~/personaland~/work. Thus the input to the prompt should looks like~/personal ~/work.
Post install will just display some information and make sure you can see the right icons. If you cannot then you might need a patched font.
Neovim
Install
The first thing you will need to do is install neovim. You can follow the steps from the official documentation.
NOTE: One thing to keep in mind is that for this configuration to work you will need at least version
0.9.0.
The easiest way to install neovim on Ubuntu is to go to the
releases page on the official repo
and download the nvim.appimage. To get the latest version you can just run
curl -LO https://github.com/neovim/neovim/releases/latest/download/nvim.appimage
After you download the appimage you need to make it executable by running
chmod +x nvim.appimage
This will allow you to execute the program using ./nvim.appimage. Now, run
./nvim.appimage --version in the terminal and make sure the version is at
least 0.9.0. The next step is to move this binary in the PATH of the system
so you can execute it like any other tool (e.g ls, cat etc.)
mv nvim.appimage /usr/bin/nvim
NOTE: If you prefer to have the nvim binary in your home folder you can use
~/.local/bin/nvimas the target, but you will have to make sure that the path is included in the PATH variable. You can check that withecho $PATH.
NOTE: If you really want to use the package manager you can take a look at https://github.com/neovim/neovim/wiki/Installing-Neovim#ubuntu and use the unstable ppa.
NOTE: If you are using Arch you can just
pacman -S neovimand you will get the latest version.
This is enough for you to get started working on editing some text. But you can go down the rabbit hole of configuring your neovim experience first.
Dependencies
To customize the neovim experience you will need some external tools first. These are installed automatically by the install script, but just to know what they are used for
Ripgrep is optional, but a good addition if you want to use
telescope. rg is a grep
replacement. It is used to search for words in the given folder.
Fdfind is also optional, but it integrates well with telescope (again). It an
alternative to the find command. It is used to search for files in the given
folder. One thing to keep in mind is that the package name is called fd-find.
See https://github.com/sharkdp/fd#on-ubuntu.
NOTE:
rgandfdfindare tools that can be used normally in the terminal. It is just that neovim works better when combined with tools that allow you to search for files or words, so you don’t have to use your mouse to navigate and waste time.
Configuration
If you just want an out of the box config with some sensible defaults you can use my nvim.dotfiles repo.
You will just need to download the source code and run the install script. For example
git clone git@github.com:alexjercan/nvim.dotfiles.git
cd nvim.dotfiles
./install
NOTE: This will remove the configuration from
~/.config/nvim/and create a symlink to my repo, so make sure to backup your old configuration if you want to. The install script will also do anvim.bkpbackup, but just to be sure.
The configuration is written in the lua programming language.
Packages
The packages are install automatically on the first time you open up neovim using the Lazy plugin manager.
- vim-fugitive Plugin that integrates git into neovim.
- lsp-zero.nvim Plugin that makes setting up LSP really easy.
- nvim-surround Plugin that is
nice to use when you want to surround pieces of text with
(["etc. with as few keystrokes as possible. - trouble.nvim Plugin that shows all
the diagnostics, searches, etc. in a list you can navigate with
hjkl. - telescope Plugin to use when you want to search for words or files in your project.
- nvim-treesitter Plugin that integrates parsers into neovim. Good for syntax highlight.
- nvim-treesitter-context Plugin that shows you at the top of the file the scope (function, if, for, etc) that you are in.
- undotree Plugin that is great for when
you like to Ctrl+z a lot (but in vim you use
u).
This showcases the plugins that I have installed by default. If you do not want
to use one of them you can just remove it the lua/plugins folder. Or if you
want to add a new plugin you can just add it using the convention from the
repo.
- gruvbox Color scheme that I use. You can use anything you want here.
- todo Just to make TODO commments more visible
- github/copilot.vim Copilot for neovim. Not mandatory to use, since it requires a paid subscription.
- harpoon Plugin for navigating
between a small number of files. Think of it as a
^on steroids. - obsidian Tool to make easy to take notes using neovim.
These are some optional plugins that I find are nice to have. You can choose which to install during the install script.
Sets
This section contains the sets that I use throughout my development.
vim.opt.guicursor = ""          -- this setting makes it so that the cursor
                                -- will always look like a filled block.

vim.opt.nu = true               -- enable line numbers
vim.opt.relativenumber = true   -- enable relative line numbers

vim.opt.errorbells = false      -- disables the anoying error bells.

-- tab stuff, I don't understand it,
-- but it works and it gives me tabs made up of 4 spaces.
vim.opt.tabstop = 4
vim.opt.softtabstop = 4
vim.opt.shiftwidth = 4
vim.opt.expandtab = true

vim.opt.smartindent = true      -- try to indent when you can (e.g in Python)

vim.opt.wrap = false            -- do not wrap the text

vim.opt.swapfile = false        -- do not create a swap file (what is this, Microsoft?)
vim.opt.backup = false          -- no backup

-- options for the undotree plugin
vim.opt.undodir = os.getenv("HOME") .. "/.vim/undodir"
vim.opt.undofile = true

vim.opt.hlsearch = false        -- does not highlight all the found terms
vim.opt.incsearch = true        -- turns on incremental search

vim.opt.termguicolors = true    -- more colors

vim.opt.scrolloff = 8           -- the offset you can do `jk` until it starts to scroll the screen
vim.opt.signcolumn = "yes"      -- column for signs, like error messages, warnings, etc.
vim.opt.isfname:append("@-@")   -- nerd glasses

vim.opt.cmdheight = 1           -- height of the command bar at the bottom

-- Having longer updatetime (default is 4000 ms = 4 s) leads to noticeable
-- delays and poor user experience.
vim.opt.updatetime = 50

-- Don't pass messages to |ins-completion-menu|.
vim.opt.shortmess:append("c")

vim.opt.colorcolumn = "80"      -- adds a vertical column at 80 characters to make you
                                -- rethink that crazy 5 for loop function

vim.g.mapleader = " "           -- to use space in some keybindings later
Feel free to copy paste this if you only want some sets in you nvim config. You
can find this in the nvim/lua/neovim/set.lua file.
Keybindings
The following keybindings are just better defaults to use.
-- open the file viewer with space+p+v
vim.keymap.set("n", "<leader>pv", vim.cmd.Ex)

-- cool move line up or down in visual mode
vim.keymap.set("v", "J", ":m '>+1<CR>gv=gv")
vim.keymap.set("v", "K", ":m '<-2<CR>gv=gv")

-- don't ask (copy line from current position to the end)
vim.keymap.set("n", "Y", "yg$")

-- better moves
vim.keymap.set("n", "J", "mzJ`z")
vim.keymap.set("n", "<C-d>", "<C-d>zz")
vim.keymap.set("n", "<C-u>", "<C-u>zz")
vim.keymap.set("n", "n", "nzzzv")
vim.keymap.set("n", "N", "Nzzzv")

-- greatest remap ever (paste without overwritting the yank register)
vim.keymap.set("x", "<leader>p", [["_dP]])

-- next greatest remap ever : asbjornHaland
vim.keymap.set({"n", "v"}, "<leader>y", [["+y]])
vim.keymap.set("n", "<leader>Y", [["+Y]])

-- real alphas always delete in main register, I am not an alpha
vim.keymap.set({"n", "v"}, "<leader>d", [["_d]])

-- This is going to get me cancelled
vim.keymap.set("i", "<C-c>", "<Esc>")

-- never press Q
vim.keymap.set("n", "Q", "<nop>")

-- run a formatter if you have one
vim.keymap.set("n", "<leader>f", vim.lsp.buf.format)

vim.keymap.set("n", "<C-k>", "<cmd>cnext<CR>zz")
vim.keymap.set("n", "<C-j>", "<cmd>cprev<CR>zz")
vim.keymap.set("n", "<leader>k", "<cmd>lnext<CR>zz")
vim.keymap.set("n", "<leader>j", "<cmd>lprev<CR>zz")

-- for fast repalce
vim.keymap.set("n", "<leader>s", [[:%s/\<<C-r><C-w>\>/<C-r><C-w>/gI<Left><Left><Left>]])

-- do this on the bash script you download from the internet
vim.keymap.set("n", "<leader>x", "<cmd>!chmod +x %<CR>", { silent = true })

-- for when you have to share the screen and they ask you
-- "what does the code from the line 10 mean?"
vim.keymap.set("n", "<leader>rnu", ":set rnu!<CR>")

-- don't be a b**, just use hjkl
vim.keymap.set("i", "<Up>", "<C-o>:echom \"--> k <-- \"<CR>")
vim.keymap.set("i", "<Down>", "<C-o>:echom \"--> j <-- \"<CR>")
vim.keymap.set("i", "<Right>", "<C-o>:echom \"--> l <-- \"<CR>")
vim.keymap.set("i", "<Left>", "<C-o>:echom \"--> h <-- \"<CR>")
vim.keymap.set("n", "<Up>", ":echom \"--> k <-- \"<CR>")
vim.keymap.set("n", "<Down>", ":echom \"--> j <-- \"<CR>")
vim.keymap.set("n", "<Right>", ":echom \"--> l <-- \"<CR>")
vim.keymap.set("n", "<Left>", ":echom \"--> h <-- \"<CR>")
Again, these keybindings are not really related to any plugins, and you can use
or change any of them. You can find this file in nvim/lua/neovim/remap.lua.
If you want to check some keybindings for specific plugins you can check out
the lua/plugin folder and look for which plugin you want to see the keybinds
for.
LSP
For the LSP I am using lsp-zero which creates a seamless experience when
interacting with lsp servers. To easily install a new lsp you can run the
:Mason command. This will open up a menu where you can download and install
lsp for any language. There are some downsides to this method, because you
might not always find the latest versions. But it is a lot easier than having
to manually install them (unless the programming language has a really good
build tool/package manager).
Tmux
Install
The first thing you will need to do is install tmux. You can follow the steps
from the official
documentation. Most probably you
will find tmux available in your package manager (e.g sudo apt install tmux).
Or just use the install script, since it will install tmux by itself.
This is enough to get started using tmux with my config.
git clone git@github.com:alexjercan/tmux.dotfiles.git
cd tmux.dotfiles
./install
However, I have also included a script that can be used to start a new session
for one of your projects really fast. Enter tmux-sessionizer.
Tmux Sessionizer
This step is optional, but it gives you a great tool for working with tmux.
To be able to use sessionizer you need to install fzf. This is a tool that allows you to filter for files from the CLI. This tool is also covered in the install script.
You can use the --help flag to see how the script can be used.
Sessionizer works by first choosing a project folder. In my case I keep the
projects in ~/personal/ and ~/work/, so I hardcoded in the bash script
selected=$(find ~/personal ~/work -mindepth 1 -maxdepth 1 -type d | fzf)
but you can change the target of the find command (you can even use multiple
folders, and change the depth). The important thing is to use fzf to quickly go
through projects and filter for the one that you want to open. This step is
done during the install phase. You will have to provide the paths to the
folders that you want to search into.
If you close the terminal but do not stop your tmux session, the next time you use sessionizer it will open your project back up (if you search for it with fzf). You can even create a new session from inside an existing session and easily switch between the projects. (Altough for switching between sessions I would rather use the tmux way of prefix+s, but you would first need to create that session somehow, and sessionizer is really good at that)
NOTE: My install script creates a symlink for tmux-sessionizer inside
~/.local/bin/tmux-sessionizer, so you might need to add~/.local/bin/to PATH to make sure you can use it.
Nerd Font
This step is optional. It is useful if you care about having nice icons in the status bar.
You will have to install a nerd font. I think
that any font works, but I am using 3270 Nerd Font just for reference.
Again, to install the font, I just downloaded the zip archive and moved the
font files to ~/.local/share/fonts/. There are many different ways to do it
and you can read more about it on the nerd fonts website.
Tpm
If you want to install plugins you will need
tpm. Don’t forget to run tmux source
~/.tmux.conf once you are done with the installation. And after that you will
have to install all the plugins with prefix+I (prefix+shift+i basically)
The plugin that I use for the status bar is rose-pine/tmux It is the same theme I use for my neovim config.
Another plugin I use is tmux-sensible, which contains some better default settings.
All the plugins are installed with the install script.
Config
So that you have more colors (if your terminal allows it)
# terminal stuff
set -ga terminal-overrides ",screen-256color*:Tc"
set-option -g default-terminal "screen-256color"
set -s escape-time 0
Change prefix key to Ctrl-Space. I tried different prefix combinations, this one stuck with me because it is similar to my neovim leader key (space).
unbind C-b
set -g prefix C-Space
bind C-Space send-prefix
By default tmux will have its first window set on 0, but that makes it more
difficult to switch to it. If it starts at 1, you will just have to do
ctrl+space+1 -> ctrl+space+2 etc to move between windows.
set -g base-index 1
set -g pane-base-index 1
set-window-option -g pane-base-index 1
set-option -g renumber-windows on
Set vi mode, so we can make use of hjkl and other good vim stuff.
set-window-option -g mode-keys vi
bind -T copy-mode-vi v send-keys -X begin-selection
bind -T copy-mode-vi y send-keys -X copy-pipe-and-cancel 'xclip -in -selection clipboard'
If you are into using panes I have also added some config for that. But I think that just using windows is easier. This config will allow you to move between panes with vim keybindings. The same you would move between vim windows.
bind -r ^ last-window
bind -r k select-pane -U
bind -r j select-pane -D
bind -r h select-pane -L
bind -r l select-pane -R
Again stuff for panes. If you open a pane it will do it in the current directory.
bind '"' split-window -v -c "#{pane_current_path}"
bind % split-window -h -c "#{pane_current_path}"
This uses the sessionizer script to start a new session. If you want to open up
a new project just press ctrl+space+f and it will allow you to search in your
Documents folder.
bind-key -r f run-shell "tmux neww ~/.local/bin/tmux-sessionizer"
Useful when you add plugins and stuff.
bind r source-file ~/.tmux.conf
When you detach you go to your last open session. If no session exists it will exit.
set-option -g detach-on-destroy off
Some config for my plugins
set -g @plugin 'tmux-plugins/tpm'
set -g @plugin 'tmux-plugins/tmux-sensible'
set -g @plugin "nordtheme/tmux"
set -g @plugin "tmux-plugins/tmux-prefix-highlight"
Some config for my theme
set-option -g status-left-length "80"
Lastly you will need to add the tpm run line if you want to use plugins
run '~/.tmux/plugins/tpm/tpm'
Conclusion
Feel free to use the github repo and make changes to it as you wish.